free web builder

CLINICAL CASES - D

ZERAMEX® XT | Full ceramic posterior bridge

Courtesy Dr. Michael Leistner  |      [email protected]       |       http://www.dent-design.de

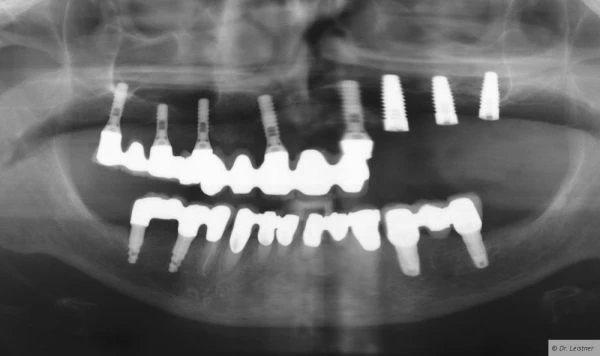
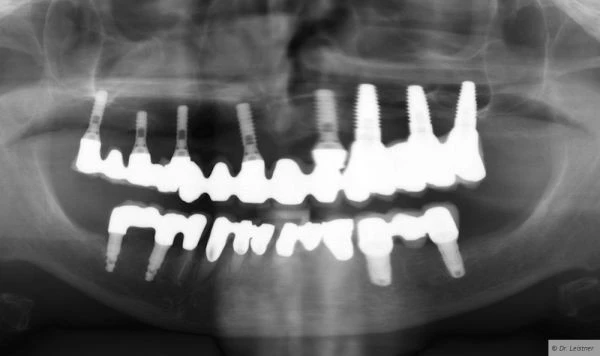
• The 72-year-old patient has been treated with seven titanium Straumann implants and a double-sided sinus lift in the upper jaw over 20 years ago. The two implants on 24 and 25 had to be removed due to severe peri-implantitis and bone resorption. The patient wanted to know, whether a further implant soluton is possible. After evaluation of the X-ray images, a new restoration on the basis of three implants in the second quadrant was proposed, in the distal area bone augmentation via an internal sinus lift. The patient asked if a metal-free restoration is possible. The implants used were the new Zeramex XT implants with screw-retained abutments (Dentalpoint). The bone replacement material used was maxresorb inject (botiss).
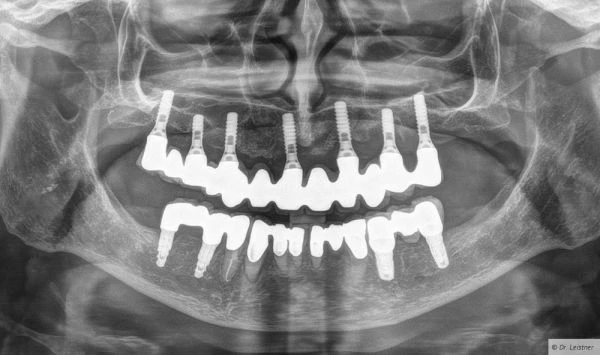
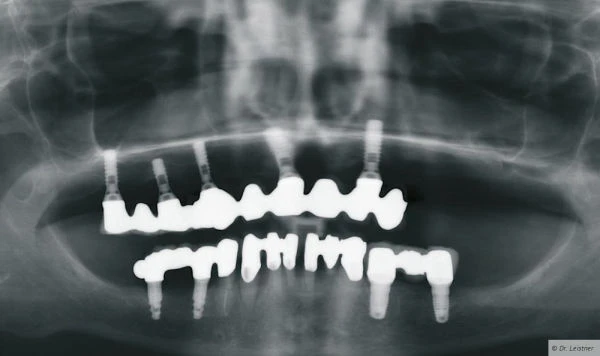
1- OPG two years before re-implantation.
2- OPG three months after removing the old implants.
3-OPG after placement of the 3 XT ceramic implants.
4- OPG after prosthetic restoration.
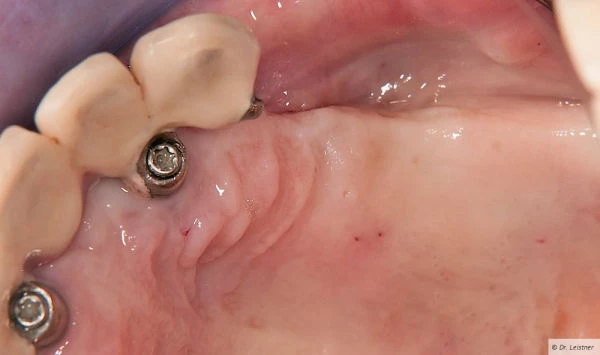
5-View of the operating area, existing bridge unit 23 will be removed.
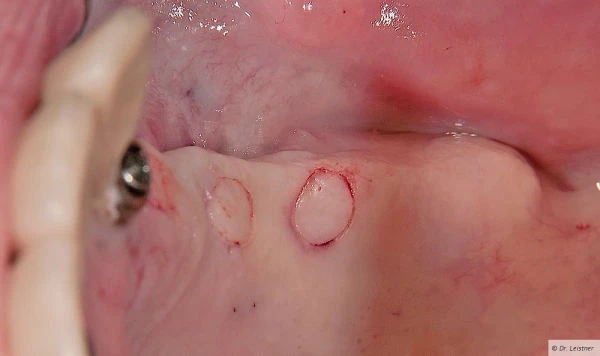
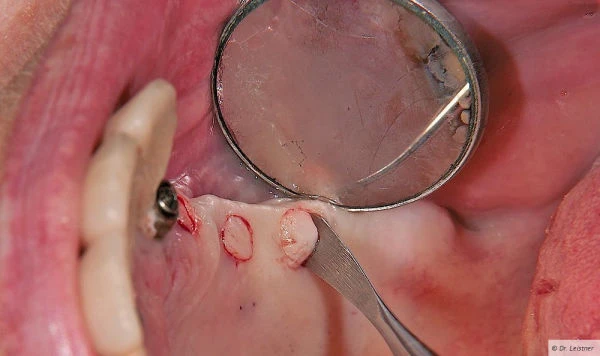
6- Access to the bone through  tissue punching.
Pontic 23 has been removed.
7-Removal of the punched gingiva.
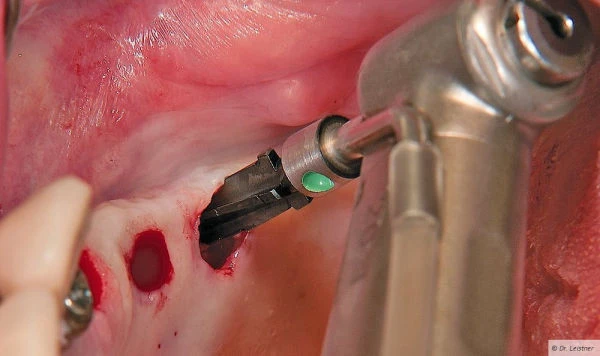
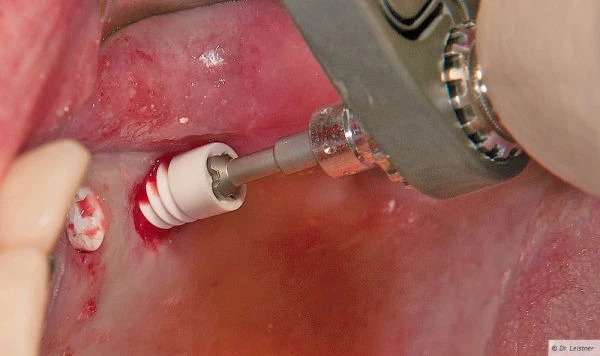
8-After marking and pilot drilling, shaping the implant socket with ZERADRILL.
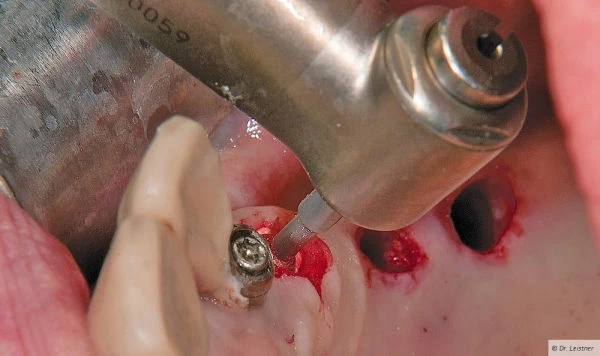
9-After tapping, inserting the first implant.
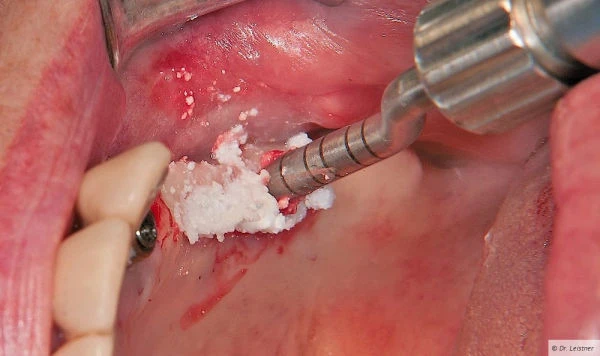
10- Insertion of the bone substitute material for the internal sinus lift for the 2nd implant.
11-Carefully screw in the 2nd implant with the hand ratchet.
12-Site after 3 months.
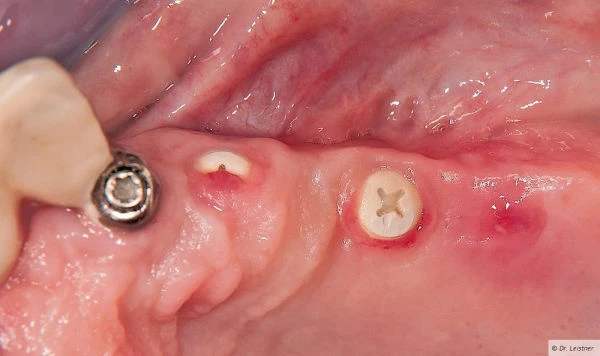
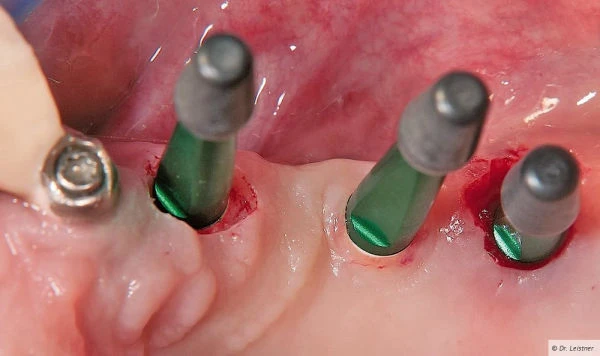
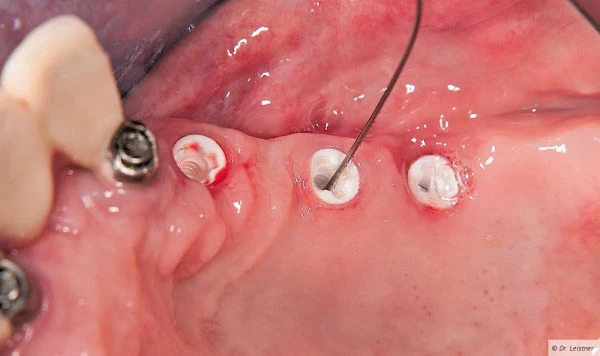
13-Exposing the healing caps.
14-The exposed implants
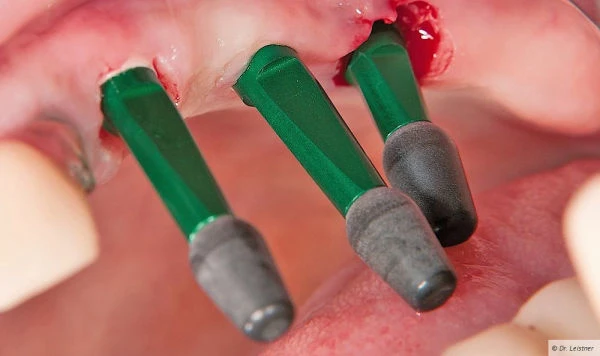
15- Transfer sleeve for closed impression in place.
16-Another view of the transfer sleeve.
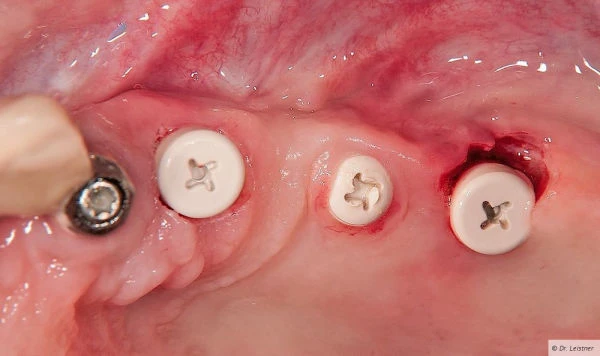
17-Gingivaformers and a healing cap after the impression.
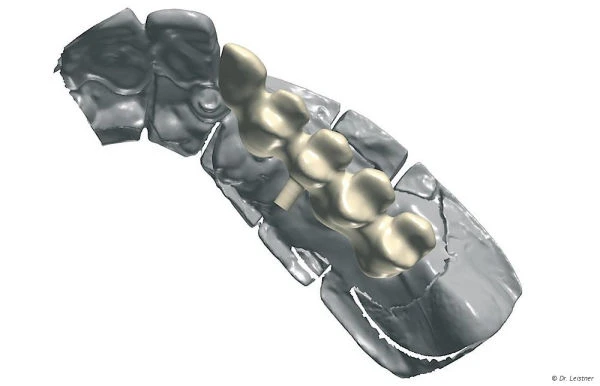
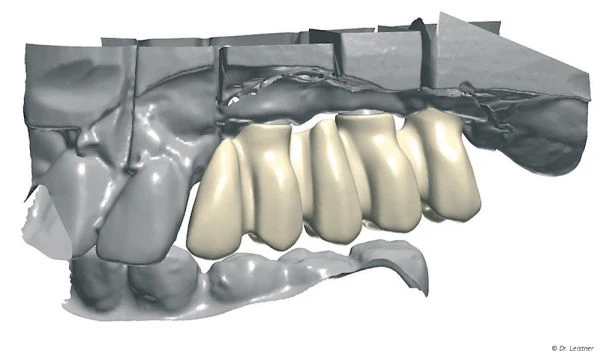
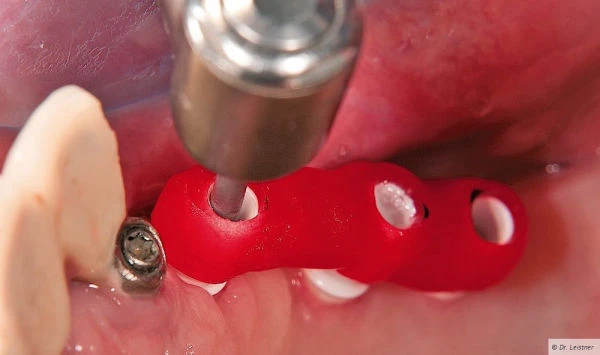
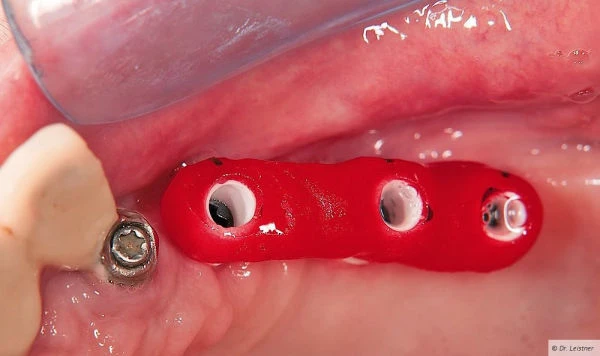
18- Occlusal view of the CAD framework.
19-Buccal view of the CAD framework.
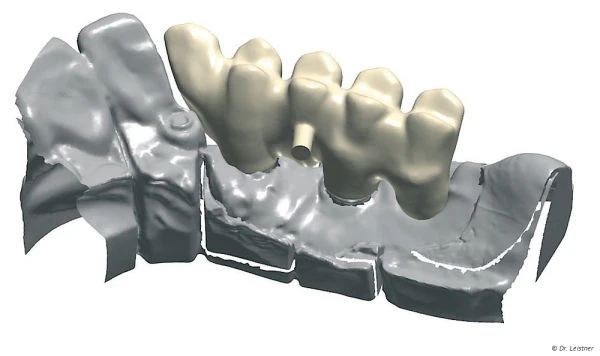
20- Palatal view of the CAD framework.
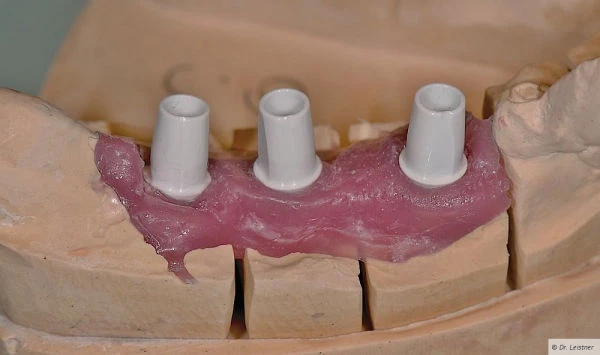
21-Screw-on abutments on the model.
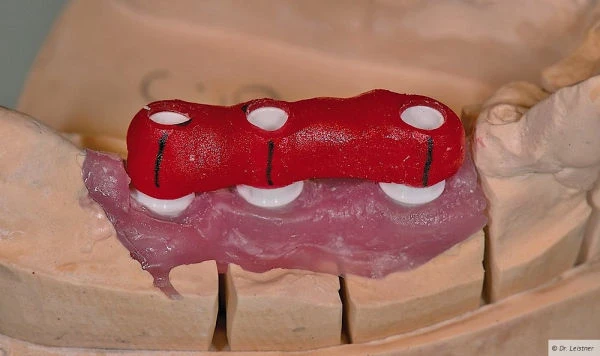
22- Insertion key from Palavit G (Kulzer).

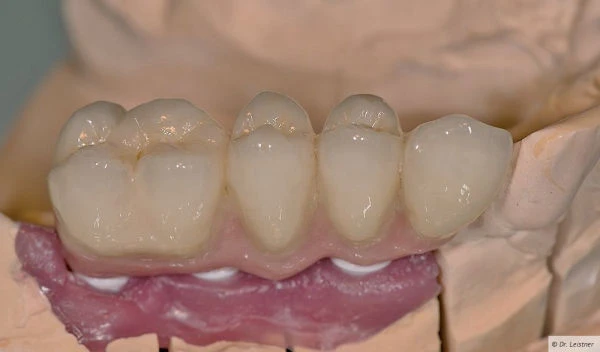
23-Finished bridge on the model.

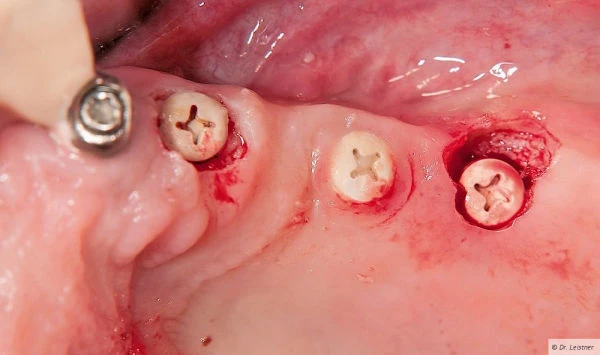
24-Healed gingiva after three weeks.
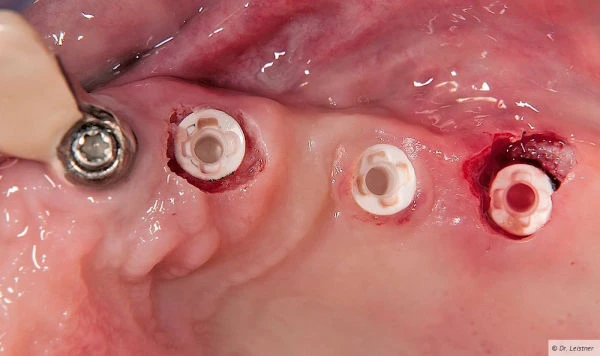
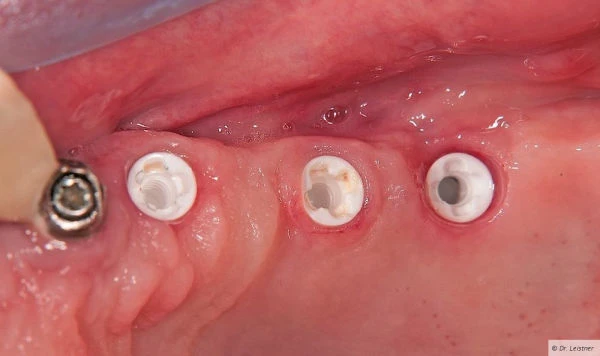
25-View of the new implant connection geometry.
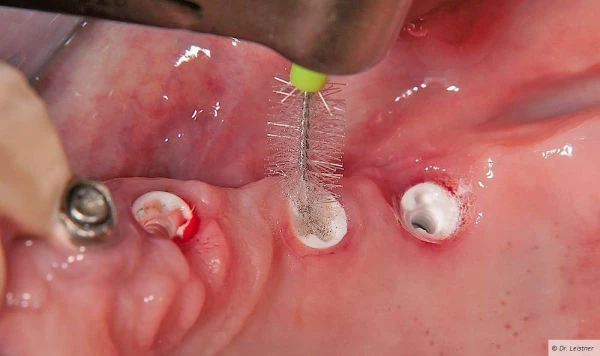
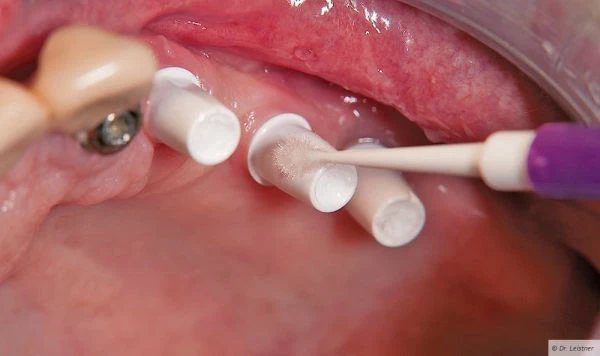
26-Cleaning the inside with Curaprox rotary brush.
27-Cleaning the interior with a hydrogen peroxide solution.
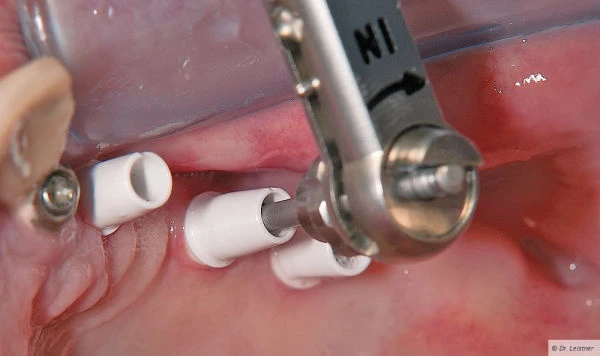
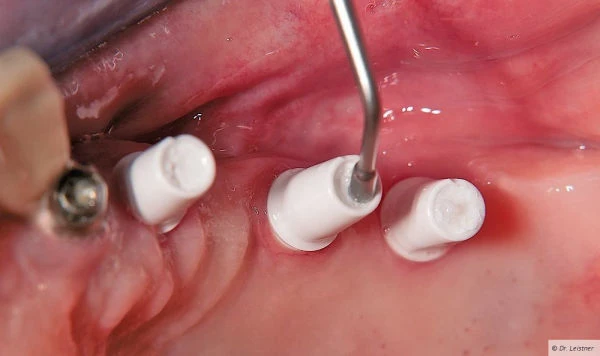
28-Screwing in the abutments with the insertion key.
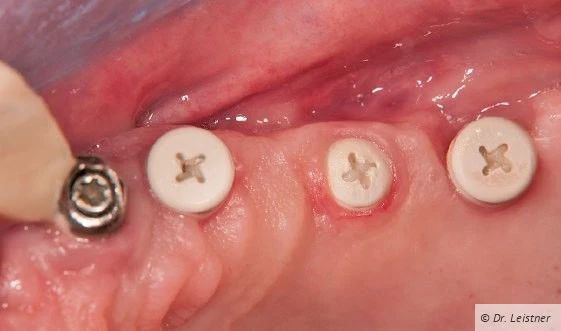
29-Abutments in place prior to final torquing to recommended value.
30-Insertion key removed and Viacrbo screws torqued to 25 Ncm.
31-Closing the screw access opening with Teflon tape.
32- Applying bonding agent on zirconia abutments
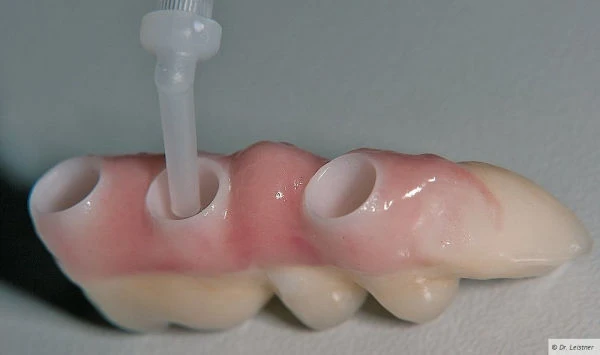
33- Applying adhesive to bridge prior to cementation.
34- Palatal view of bridge.
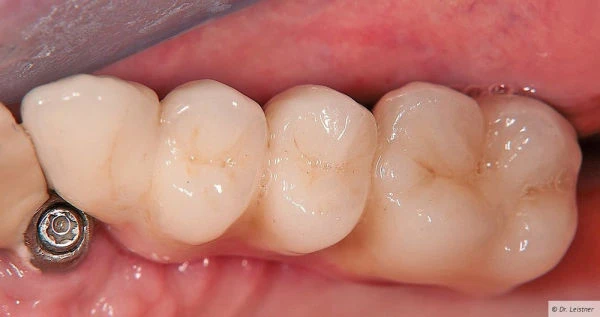
35- Occlusal view of bridge.
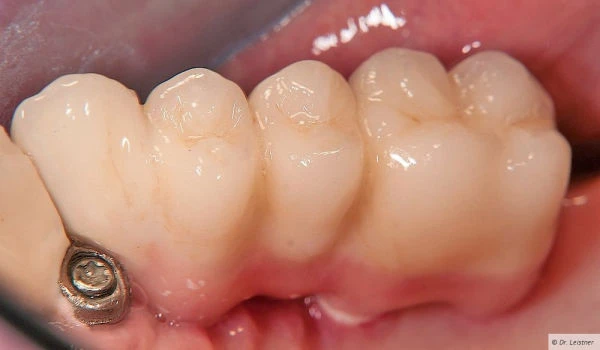
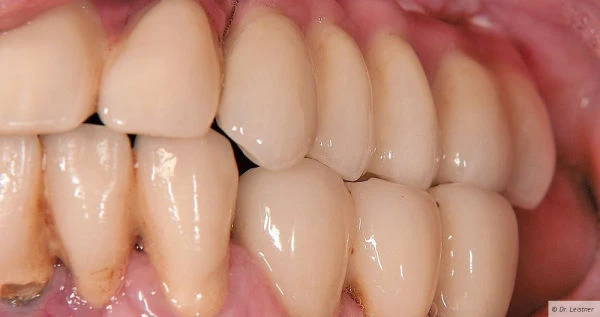
36- Buccal view of bridge.